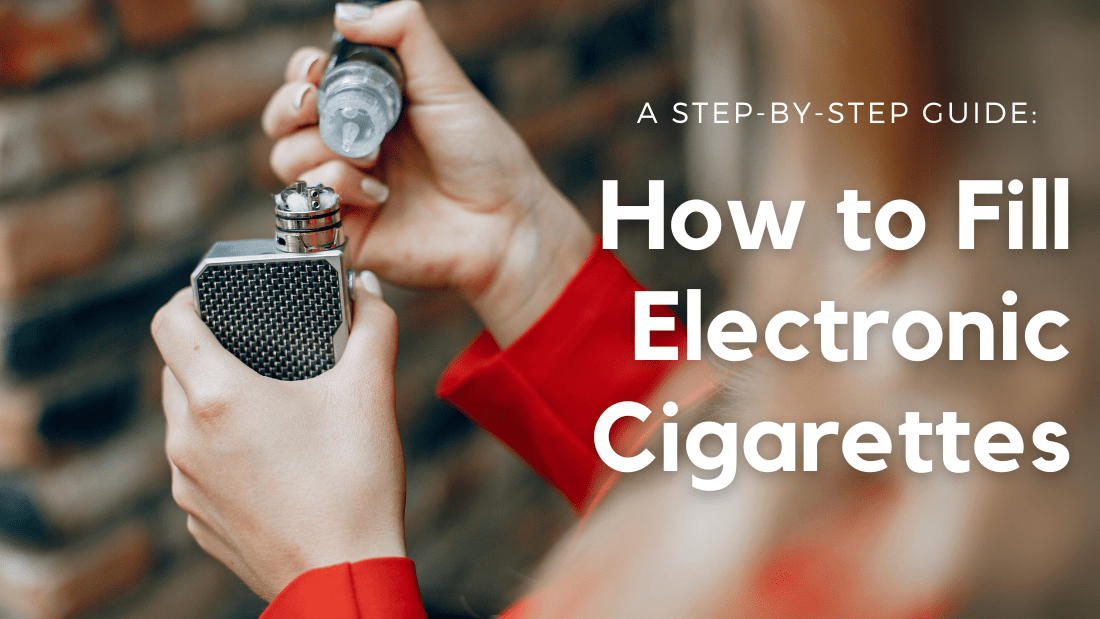
How to Fill Electronic Cigarettes: A Step-by-Step Guide
How to Fill Electronic Cigarettes: A Step-by-Step Guide
Electronic cigarettes, also known as vapes, have become increasingly popular in recent years as a potential alternative to traditional cigarettes. While vaping offers various benefits, such as reduced exposure to harmful chemicals found in traditional cigarettes, it's essential to understand the proper techniques for filling your vape device. This comprehensive guide will walk you through the step-by-step process of filling electronic cigarettes, ensuring you enjoy a smooth and satisfying vaping experience.
Understanding Your Vape Tank
Before diving into the filling process, it's crucial to familiarize yourself with the vape tank's components. Most vape tanks consist of the following:
- Tank: The main container that holds the e-liquid.
- Coil: The heating element responsible for vaporizing the e-liquid.
- Wick: A material that absorbs the e-liquid and delivers it to the coil.
- Airflow Control Ring: A ring that adjusts the amount of air that flows through the tank, influencing the vapor production and throat hit.
- Drip Tip: The mouthpiece you use to inhale the vapor.
Step 1: Prepare Your E-Liquid and Vape Tank
Start by gathering the necessary supplies:
- Your preferred e-liquid: Choose an e-liquid flavor and nicotine strength that suits your preferences.
- Clean vape tank: Ensure your vape tank is clean and free of any residue from previous e-liquids.
- Paper towels or tissue: These will be useful for wiping away any spills or excess e-liquid.
Step 2: Detach the Tank from Your Mod
To access the tank for filling, you'll need to detach it from your mod. Most vape tanks have a threaded connection. Simply unscrew the tank from the mod by twisting it counterclockwise.
Step 3: Locate the Filling Port
Once the tank is detached, look for the filling port. This is usually a small opening located on the side or top of the tank. Some tanks may have a silicone stopper or cap that needs to be removed before filling.
Step 4: Fill the Tank with E-Liquid
Carefully pour your chosen e-liquid into the filling port. Avoid overfilling the tank, as this can lead to leaks. Most tanks have a maximum fill line, so ensure you don't exceed it.
Step 5: Reattach the Tank to Your Mod
After filling the tank, screw it back onto your mod. Ensure it's securely attached to prevent any leaks.
Step 6: Prime Your Coil
Before vaping, it's important to prime your coil. This involves saturating the wick with e-liquid to prevent dry hits. To prime your coil, follow these steps:
- Drip a few drops of e-liquid directly onto the coil: Make sure the wick is fully soaked.
- Allow the e-liquid to sit for a few minutes: This will give the wick time to absorb the e-liquid.
Step 7: Start Vaping
After priming your coil, you're ready to start vaping. Take a few small puffs initially to allow the coil to heat up and ensure a smooth vaping experience.
Tips for Filling Electronic Cigarettes
- Avoid overfilling the tank: Overfilling can lead to leaks and even damage your vape device.
- Clean your tank regularly: Cleaning your tank regularly will ensure optimal performance and prevent any buildup of residue.
- Store your e-liquid properly: Keep your e-liquid in a cool, dry place away from direct sunlight.
- Use high-quality e-liquid: Using high-quality e-liquid will enhance your vaping experience and minimize the risk of harsh flavors or unpleasant smells.
- Always follow the manufacturer's instructions: Each vape device may have specific filling instructions. Always consult the manufacturer's instructions for your device before filling it.
Conclusion
Filling your electronic cigarettes is a straightforward process that becomes easier with practice. By following these simple steps, you can ensure a smooth and enjoyable vaping experience. Remember to always handle e-liquids responsibly, store them properly, and consult your device's manual for any specific filling instructions.


